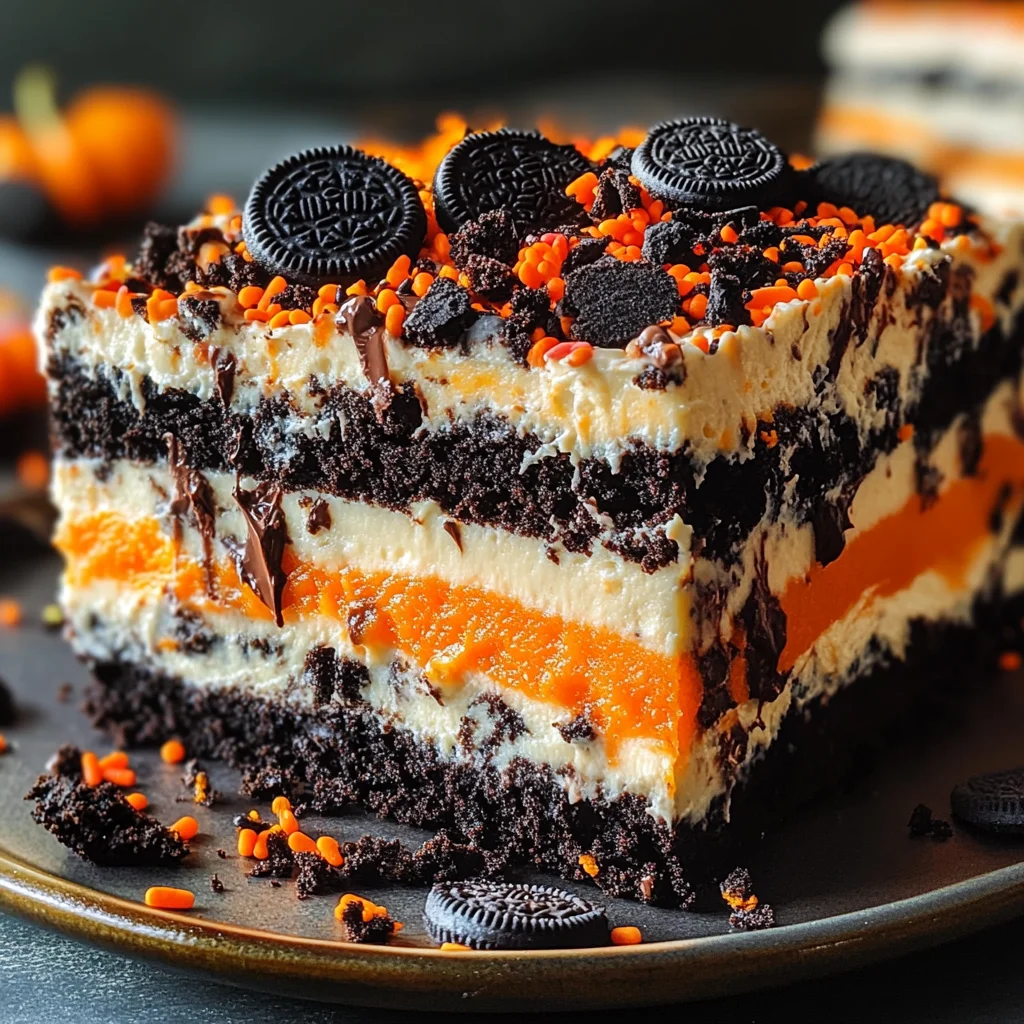
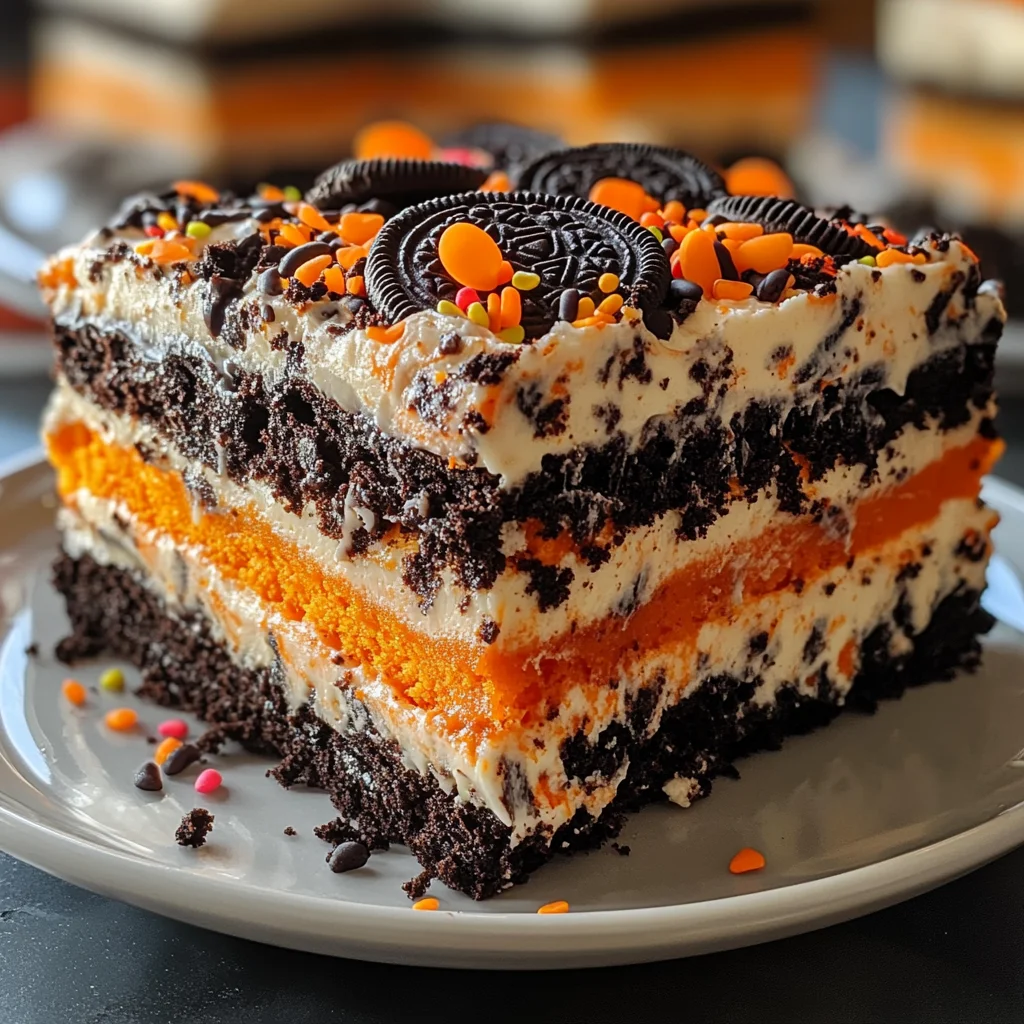
The Halloween Oreo Icebox Cake is a delightful no-bake dessert that’s perfect for spooky celebrations or any festive occasion. With its layers of creamy filling and crunchy Oreo cookies, this cake not only looks stunning but also offers a deliciously rich flavor that will impress your guests. Its ease of preparation makes it an ideal choice for those who want to enjoy a sweet treat without the hassle of baking. Plus, it’s versatile enough to be customized with your favorite flavors or decorations!
Jump to:
- Why You’ll Love This Recipe
- Tools and Preparation
- Essential Tools and Equipment
- Importance of Each Tool
- Ingredients
- For the Cake Layers
- For the Cream Filling
- How to Make Halloween Oreo Icebox Cake
- Step 1: Prepare the Cream Filling
- Step 2: Layer Your Cake
- Step 3: Chill and Serve
- How to Serve Halloween Oreo Icebox Cake
- Individual Portions
- Garnish with Whipped Topping
- Decorate with Halloween Candies
- Serve with Spooky Plates
- Pair with Ice Cream
- How to Perfect Halloween Oreo Icebox Cake
- Best Side Dishes for Halloween Oreo Icebox Cake
- Common Mistakes to Avoid
- Storage & Reheating Instructions
- Refrigerator Storage
- Freezing Halloween Oreo Icebox Cake
- Reheating Halloween Oreo Icebox Cake
- Frequently Asked Questions
- What is a Halloween Oreo Icebox Cake?
- Can I use regular Oreos instead of Halloween Oreos?
- How long does it take to prepare the Halloween Oreo Icebox Cake?
- Can I customize my Halloween Oreo Icebox Cake?
- Final Thoughts
- 📖 Recipe Card
Why You’ll Love This Recipe
- Easy to Prepare: This cake doesn’t require baking, making it simple and quick to assemble.
- Delicious Flavor: The combination of Oreo cookies and creamy filling creates a rich taste sensation.
- Perfect for Parties: Its spooky appearance makes it a fantastic centerpiece for Halloween gatherings.
- Customizable: Feel free to add your favorite toppings or mix-ins to personalize the cake.
- Make-Ahead Option: This icebox cake can be prepared in advance and stored in the fridge, saving you time on party day.
Tools and Preparation
Before diving into the recipe, gather the necessary tools that will simplify the process of creating your Halloween Oreo Icebox Cake.
Essential Tools and Equipment
- Mixing bowl
- Electric mixer
- 9×13 inch baking dish
- Spatula
Importance of Each Tool
- Mixing bowl: A large bowl is essential for combining ingredients smoothly without spills.
- Electric mixer: This tool ensures that your cream is whipped perfectly, making it light and fluffy.
- 9×13 inch baking dish: The right size is crucial for layering your cake evenly and achieving the desired presentation.
Ingredients
For the Cake Layers
- Oreo cookies: About 24–30 cookies, crushed (reserve some whole for garnish)
- Unsweetened cocoa powder: 2 tablespoons
For the Cream Filling
- Cream cheese: 8 ounces, softened
- Granulated sugar: 1 cup
- Heavy cream: 2 cups, cold
- Vanilla extract: 1 teaspoon
How to Make Halloween Oreo Icebox Cake
Step 1: Prepare the Cream Filling
- In a mixing bowl, beat the cream cheese with an electric mixer until smooth.
- Gradually add in the granulated sugar, mixing until well combined.
- In a separate bowl, whip the heavy cream until stiff peaks form.
- Gently fold the whipped cream into the cream cheese mixture along with the vanilla extract. Be careful not to deflate the whipped cream.
Step 2: Layer Your Cake
- Start by spreading a layer of crushed Oreo cookies at the bottom of a 9×13 inch baking dish.
- Add half of the cream filling over the cookie layer, smoothing it out with a spatula.
- Repeat this process by adding another layer of crushed cookies followed by the remaining cream filling.
Step 3: Chill and Serve
- Cover the baking dish with plastic wrap and refrigerate for at least 4 hours or overnight for best results.
- Before serving, garnish with whole Oreo cookies, additional cocoa powder, or any preferred toppings.
Enjoy your spooky yet delicious creation!
How to Serve Halloween Oreo Icebox Cake
Serving the Halloween Oreo Icebox Cake can be as fun as making it. This dessert is versatile and visually appealing, making it perfect for Halloween gatherings. Here are some creative serving suggestions to enhance your presentation.
Individual Portions
- Use small dessert cups to serve individual portions of the cake. This makes it easier for guests to grab and enjoy without needing to slice.
Garnish with Whipped Topping
- Add a dollop of whipped topping on each slice. For a spooky touch, you can tint the whipped cream with green or orange food coloring.
Decorate with Halloween Candies
- Scatter themed candies, like candy corn or chocolate spiders, on top of the cake before serving. This adds a festive flair and extra sweetness.
Serve with Spooky Plates
- Use plates featuring Halloween designs to enhance the seasonal theme. It adds an extra touch that guests will appreciate.
Pair with Ice Cream
- Offer a scoop of vanilla or pumpkin-flavored ice cream alongside each slice. The creamy texture complements the cake perfectly.
How to Perfect Halloween Oreo Icebox Cake
To ensure your Halloween Oreo Icebox Cake is a hit, consider these helpful tips for achieving the best results.
- Choose Fresh Oreos: Using fresh Oreos will enhance the overall taste and texture of your cake, ensuring a delightful crunch.
- Layer Evenly: Make sure to spread your layers evenly for consistent flavor in every bite. This will also improve presentation.
- Chill Properly: Allow sufficient time for chilling in the refrigerator (at least 4 hours). A well-chilled cake holds its shape better when sliced.
- Use Quality Cream Cheese: Opt for high-quality cream cheese for your filling. It contributes to a richer flavor and creamier texture.
Best Side Dishes for Halloween Oreo Icebox Cake
Complementing your Halloween Oreo Icebox Cake with side dishes can create a balanced dessert table. Here are some fantastic options to consider:
- Pumpkin Spice Cookies: These soft cookies add seasonal flavors and pair beautifully with the rich chocolate of the cake.
- Caramel Apple Slices: Fresh apple slices drizzled with caramel make a refreshing contrast to the dense icebox cake.
- Chocolate Pudding Cups: Individual chocolate pudding cups offer another creamy dessert option without overwhelming sweetness.
- Crispy Rice Treats: Light and chewy rice treats can balance out the heavier elements on your dessert table while being fun to eat.
- Spiced Pecans: Roasted spiced pecans provide a crunchy, savory element that contrasts nicely with the sweetness of the cake.
- Fruit Salad: A colorful fruit salad brings freshness and lightness, making it an ideal palate cleanser after rich desserts.
Common Mistakes to Avoid
- Avoid overcomplicating layers: Keep the assembly simple. Too many layers can make it hard to cut and serve.
- Don’t skip chilling time: Allow the cake to chill for at least 4 hours. This helps the layers set properly and enhances the flavors.
- Be careful with ingredient substitutions: Make sure any substitutes match in flavor and texture to maintain the integrity of the Halloween Oreo Icebox Cake.
- Watch out for too much moisture: Using overly wet ingredients can make the cake soggy. Balance your cream and cookie ratios carefully.
- Forgetting to decorate adequately: Aesthetics matter! Use festive toppings like Halloween-themed sprinkles or chocolate decorations for a beautiful presentation.
Storage & Reheating Instructions
Refrigerator Storage
- Store in an airtight container for up to 5 days.
- Ensure it’s well covered to prevent drying out or absorbing odors from other foods.
Freezing Halloween Oreo Icebox Cake
- Wrap tightly in plastic wrap, then in aluminum foil for optimal freshness.
- Freeze for up to 3 months; thaw in the refrigerator overnight before serving.
Reheating Halloween Oreo Icebox Cake
- Oven: Preheat to 350°F (175°C), cover with foil, and warm for about 10-15 minutes.
- Microwave: Heat individual slices on medium power for about 20-30 seconds until slightly warm.
- Stovetop: Use a non-stick skillet over low heat, place a slice, and cover until warmed through.
Frequently Asked Questions
Do you have questions about making this dessert? Here are some common inquiries.
What is a Halloween Oreo Icebox Cake?
The Halloween Oreo Icebox Cake is a layered dessert made with Oreo cookies and cream, perfect for celebrating spooky season with its festive look.
Can I use regular Oreos instead of Halloween Oreos?
Yes, you can use regular Oreos. However, Halloween-themed Oreos add fun colors that enhance the visual appeal of your cake.
How long does it take to prepare the Halloween Oreo Icebox Cake?
Preparation time is approximately 20 minutes, but remember to chill it for at least 4 hours before serving!
Can I customize my Halloween Oreo Icebox Cake?
Absolutely! You can add different flavored creams, use additional candies for decoration, or even layer in fruits like strawberries for added flavor.
Final Thoughts
The Halloween Oreo Icebox Cake is not only easy to make but also visually striking, making it a great addition to your celebrations. Feel free to customize it with different flavors or toppings to suit your taste preferences. Get creative and enjoy this delightful treat!
Did You Enjoy Making This Recipe? Please rate this recipe with ⭐⭐⭐⭐⭐ or leave a comment.
📖 Recipe Card
Print
Halloween Oreo Icebox Cake
- Total Time: 0 hours
- Yield: Serves approximately 12 slices 1x
Description
Indulge in the festive spirit with this delightful Halloween Oreo Icebox Cake, a no-bake dessert that combines layers of creamy filling and crunchy Oreo cookies. Perfect for Halloween celebrations or any festive occasion, this cake is not only visually striking but also incredibly easy to prepare. With its rich flavor and customizable options, it’s sure to impress guests of all ages. Whether you’re hosting a spooky gathering or simply treating yourself, this icebox cake is the perfect sweet ending. Dress it up with your favorite toppings and enjoy a deliciously fun treat!
Ingredients
- 24–30 Oreo cookies (crushed, with some whole for garnish)
- 8 ounces cream cheese (softened)
- 1 cup granulated sugar
- 2 cups heavy cream (cold)
- 1 teaspoon vanilla extract
- 2 tablespoons unsweetened cocoa powder
Instructions
- In a mixing bowl, beat the softened cream cheese with granulated sugar until smooth.
- In another bowl, whip the cold heavy cream until stiff peaks form.
- Gently fold the whipped cream into the cream cheese mixture along with vanilla extract.
- In a 9×13 inch baking dish, spread a layer of crushed Oreo cookies at the bottom.
- Add half of the cream filling over the cookie layer and smooth it out.
- Repeat layering with more crushed cookies followed by the remaining cream filling.
- Cover and refrigerate for at least 4 hours or overnight.
- Before serving, garnish with whole Oreo cookies or cocoa powder.
- Prep Time: 20 minutes
- Cook Time: None
- Category: Dessert
- Method: No-bake
- Cuisine: American
Nutrition
- Serving Size: 1 serving
- Calories: 420
- Sugar: 28g
- Sodium: 180mg
- Fat: 32g
- Saturated Fat: 18g
- Unsaturated Fat: 10g
- Trans Fat: 0g
- Carbohydrates: 34g
- Fiber: 2g
- Protein: 4g
- Cholesterol: 80mg