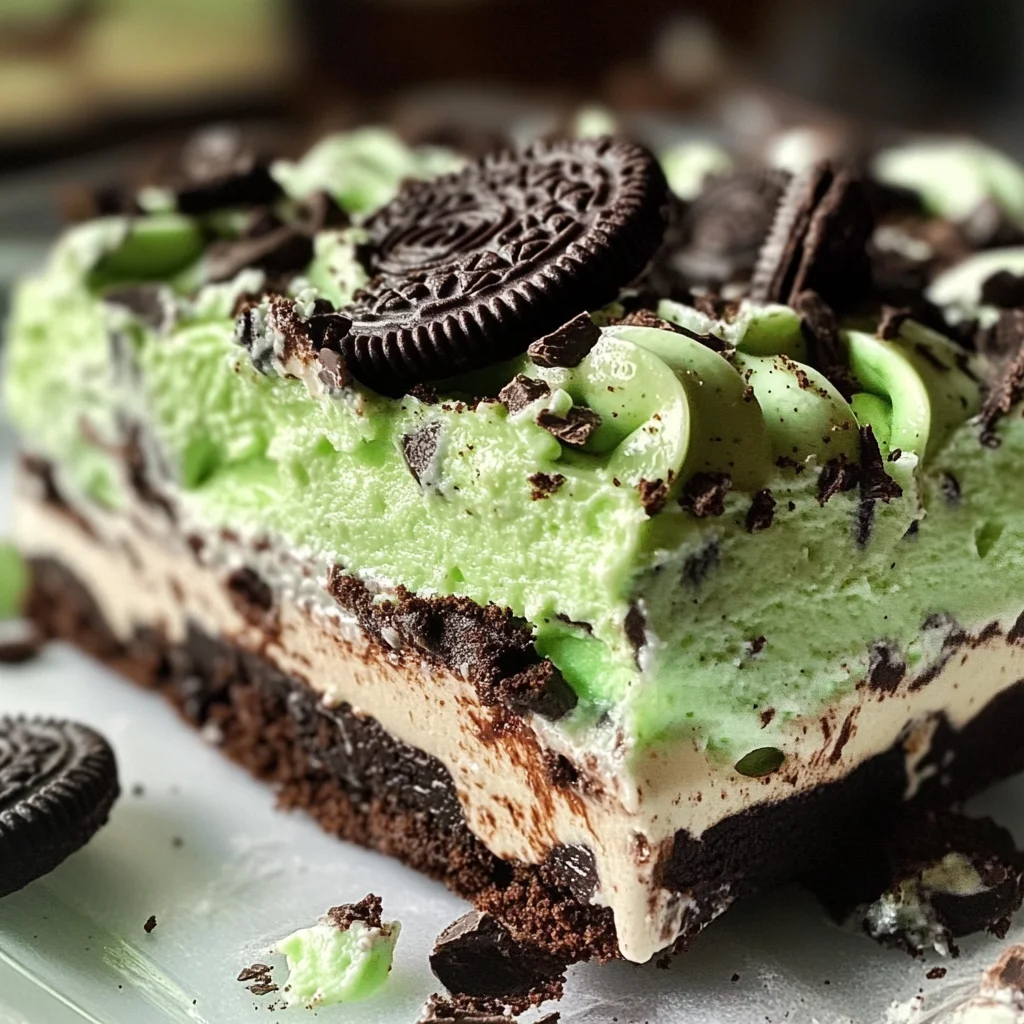
This Heavenly Mint OREO Dessert is the ultimate treat for dessert lovers! With its rich chocolate pudding, creamy layers, and refreshing mint flavor, this no-bake pie is perfect for any occasion. Whether it’s a holiday gathering, a summer barbecue, or simply a weeknight indulgence, this delightful dessert will impress your guests and satisfy your sweet cravings!

Jump to:
- Why You’ll Love This Recipe
- Tools and Preparation
- Essential Tools and Equipment
- Importance of Each Tool
- Ingredients
- For the Filling
- For the Crust
- For Color
- How to Make Heavenly Mint OREO Dessert
- Step 1: Prepare Chocolate Pudding
- Step 2: Mix Cream Cheese Filling
- Step 3: Combine Whipped Topping
- Step 4: Crush Mint Oreos
- Step 5: Create Cookie Crust
- Step 6: Layer Cream Cheese Mixture
- Step 7: Add Chocolate Pudding Layer
- Step 8: Top with Green Whipped Topping
- Step 9: Finish with Crushed Oreos
- Step 10: Chill Before Serving
- How to Serve Heavenly Mint OREO Dessert
- Individual Cups
- Topped with Fresh Mint
- With Chocolate Drizzle
- Accompanied by Fresh Berries
- As an Ice Cream Sundae
- How to Perfect Heavenly Mint OREO Dessert
- Best Side Dishes for Heavenly Mint OREO Dessert
- Common Mistakes to Avoid
- Storage & Reheating Instructions
- Refrigerator Storage
- Freezing Heavenly Mint OREO Dessert
- Reheating Heavenly Mint OREO Dessert
- Frequently Asked Questions
- How do I customize my Heavenly Mint OREO Dessert?
- Can I use different types of Oreos?
- Is there a vegan option for this recipe?
- How can I make this dessert gluten-free?
- Final Thoughts
- 📖 Recipe Card
Why You’ll Love This Recipe
- Easy to Make: This dessert requires no baking, making it a hassle-free option for busy days.
- Decadent Flavor: The combination of chocolate and mint creates a rich and satisfying taste that everyone will love.
- Versatile Serving: Perfect for parties, picnics, or family gatherings; it suits various occasions beautifully.
- Kid-Friendly Fun: Kids can help crush the cookies and mix the layers, making it a fun kitchen activity.
- Chill and Serve: Just prepare it ahead of time and let it chill in the fridge; less stress on the day of serving!
Tools and Preparation
Having the right tools makes the preparation easy and enjoyable. Here’s what you’ll need to get started.
Essential Tools and Equipment
- Mixing bowls
- Electric mixer
- Rolling pin
- 9×11 baking dish
- Zipper bag
Importance of Each Tool
- Mixing bowls: Essential for combining ingredients efficiently without spills.
- Electric mixer: Saves time by ensuring smooth blends of cream cheese and whipped topping.
- Rolling pin: Makes crushing Oreos quick and easy for the crust.
- Zipper bag: Keeps everything tidy while crushing cookies—no mess!
Ingredients
This Heavenly Mint OREO Dessert is so decadent and fun to make–it’s a no-bake pie that you just have to taste to understand my obsession.
For the Filling
- 2 small packages instant chocolate pudding
- 3 ¼ Cup(s) milk
- 1 8-ounce package cream cheese (room temperature)
- 1 Cup(s) powdered sugar
- 2 8-ounce containers whipped topping
For the Crust
- 1 package mint Oreos
- ½ Cup(s) butter (melted)
For Color
- Green food coloring
How to Make Heavenly Mint OREO Dessert
Step 1: Prepare Chocolate Pudding
Whisk together instant chocolate pudding and milk in a large bowl until set.
Step 2: Mix Cream Cheese Filling
In a second bowl, cream together the cream cheese and powdered sugar with an electric mixer until smooth.
Step 3: Combine Whipped Topping
Fold in one tub of whipped topping along with green food coloring into the cream cheese mixture until well combined. Set aside.
Step 4: Crush Mint Oreos
Place mint Oreo cookies into a large zipper bag then crush them with a rolling pin until finely crushed.
Step 5: Create Cookie Crust
Add half of the crushed Oreos into the bottom of a 9×11 baking dish. Pour melted butter evenly over the crushed cookies and stir to combine. Press the mixture firmly into the bottom of the pan.
Step 6: Layer Cream Cheese Mixture
Cover the crust with the cream cheese mixture, spreading it evenly over all of the crushed cookies.
Step 7: Add Chocolate Pudding Layer
Spread the prepared chocolate pudding evenly over the cream cheese layer.
Step 8: Top with Green Whipped Topping
In a separate medium bowl, mix green food coloring with the second container of whipped topping. Spread this green whipped topping evenly over the pudding layer.
Step 9: Finish with Crushed Oreos
Sprinkle with any remaining crushed Oreos on top for added texture and flavor.
Step 10: Chill Before Serving
Place in the refrigerator and chill for at least two hours before enjoying!
How to Serve Heavenly Mint OREO Dessert
Heavenly Mint OREO Dessert is a delightful treat that can be enjoyed in various ways. Whether you’re hosting a party or having a quiet night in, this dessert will impress everyone at the table.
Individual Cups
- Serve the dessert in small cups for a fun and personalized touch. This is perfect for parties, as guests can grab their own serving.
Topped with Fresh Mint
- Add a sprig of fresh mint on top of each serving. It enhances the flavor and adds a beautiful pop of color.
With Chocolate Drizzle
- Drizzle some chocolate syrup over each slice before serving. This adds an extra layer of sweetness and visual appeal.
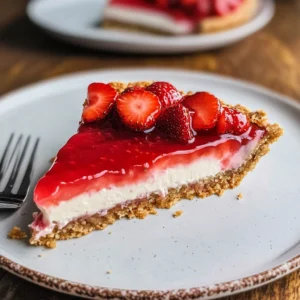
Accompanied by Fresh Berries
- Pair the dessert with fresh berries like strawberries or raspberries. The tartness from the berries complements the rich creaminess of the dessert.
As an Ice Cream Sundae
- Transform your dessert into an ice cream sundae by adding a scoop of mint chocolate chip ice cream on top. This makes for an indulgent treat.
How to Perfect Heavenly Mint OREO Dessert
To achieve the best results with your Heavenly Mint OREO Dessert, consider these helpful tips to elevate your creation.
- Use room temperature ingredients: Make sure your cream cheese is at room temperature for easy mixing and a smoother texture.
- Chill before serving: Allowing the dessert to chill for at least two hours ensures it sets properly and enhances the flavors.
- Adjust sweetness: Taste the cream cheese mixture before layering; you can adjust the powdered sugar to suit your preference.
- Crush Oreos finely: For a better crust, crush Oreos into smaller pieces to ensure they combine well with butter.
- Experiment with colors: Use various shades of green food coloring for different layers if you want to make it visually striking.
Best Side Dishes for Heavenly Mint OREO Dessert
Pairing side dishes with your Heavenly Mint OREO Dessert can create a well-rounded meal. Here are some great options that complement its sweetness.
- Fruit Salad: A refreshing mix of seasonal fruits provides a light contrast to the richness of the dessert.
- Chocolate Chip Cookies: These classic treats are always a hit and pair nicely with mint flavors.
- Vanilla Ice Cream: A scoop of vanilla ice cream balances out the dessert’s richness while adding creamy goodness.
- Coffee or Tea: Serve with freshly brewed coffee or herbal tea to cleanse the palate after indulging in this sweet treat.
- Cheese Platter: Include soft cheeses like brie or goat cheese, which offer savory notes against the sweet dessert.
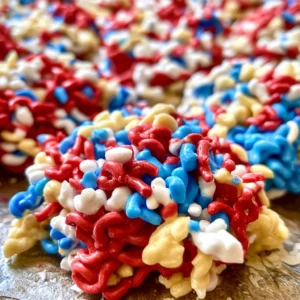
- Caramel Popcorn: The crunchy texture and sweet caramel flavor make this an enjoyable snack alongside your dessert.
Common Mistakes to Avoid
Making the Heavenly Mint OREO Dessert can be simple, but a few common mistakes can ruin your delightful creation. Here are some tips to ensure your dessert turns out perfectly.
- Not letting the pudding set: Be sure to give the instant chocolate pudding enough time to thicken before mixing it with other ingredients. This ensures a creamy texture.
- Skipping room temperature cream cheese: Using cold cream cheese can lead to lumps in your mixture. Always let it come to room temperature for smooth blending.
- Overmixing whipped topping: Mixing too much can cause the whipped topping to lose its lightness. Gently fold it in to maintain its fluffy texture.
- Inadequate chilling time: Rushing the chilling process may result in a dessert that doesn’t hold its shape. Aim for at least two hours in the refrigerator.
- Ignoring cookie crushing size: If the Oreos are not crushed finely enough, they won’t create a cohesive crust. Use a rolling pin and ensure they are evenly crushed.
Storage & Reheating Instructions
Refrigerator Storage
- Store in an airtight container.
- Best consumed within 3-4 days for optimal freshness.
Freezing Heavenly Mint OREO Dessert
- Freeze in an airtight container.
- Can be stored for up to 2 months; thaw overnight in the refrigerator before serving.
Reheating Heavenly Mint OREO Dessert
- Oven: Not recommended as it may alter the texture.
- Microwave: Heat individual portions on low power for short intervals; avoid overheating.
- Stovetop: Not applicable as this is best served chilled.
Frequently Asked Questions
Here are some common questions about making the Heavenly Mint OREO Dessert.
How do I customize my Heavenly Mint OREO Dessert?
You can add different flavors of pudding or mix in crushed candy bars for extra crunch and flavor!
Can I use different types of Oreos?
Absolutely! Try using flavored Oreos like peanut butter or birthday cake for a fun twist on this dessert.
Is there a vegan option for this recipe?
Yes! Substitute cream cheese with a plant-based alternative and use non-dairy whipped topping for a vegan-friendly dessert.
How can I make this dessert gluten-free?
Use gluten-free Oreo cookies and ensure all other ingredients are certified gluten-free for a delicious gluten-free version of this dessert.
Final Thoughts
The Heavenly Mint OREO Dessert is not only decadent but also versatile, allowing you to customize it according to your preferences. Whether you enjoy it as-is or add your personal touch, it’s bound to impress anyone who tries it. Give it a go and indulge in this delightful treat!
Did You Enjoy Making This Recipe? Please rate this recipe with ⭐⭐⭐⭐⭐ or leave a comment.
📖 Recipe Card
Print
Heavenly Mint OREO Dessert
- Total Time: 0 hours
- Yield: Serves approximately 12 people 1x
Description
Indulge in the delightful taste of Heavenly Mint OREO Dessert, a refreshing no-bake treat that combines rich chocolate pudding with creamy mint layers for an unforgettable experience. Perfect for any occasion, this dessert is not only easy to make but also involves minimal prep time, making it a go-to recipe for busy days or last-minute gatherings. With a luscious mint flavor and a crunchy Oreo crust, it’s sure to satisfy your sweet cravings and impress your guests. Whether served at a summer barbecue or as a weeknight indulgence, this dessert will quickly become a family favorite.
Ingredients
- 2 small packages instant chocolate pudding
- 3 ¼ cups milk
- 1 8-ounce package cream cheese (room temperature)
- 1 cup powdered sugar
- 2 8-ounce containers whipped topping
- 1 package mint Oreos
- ½ cup butter (melted)
- Green food coloring
Instructions
- Whisk together instant chocolate pudding and milk in a large bowl until set.
- In another bowl, beat cream cheese and powdered sugar until smooth. Fold in one tub of whipped topping and green food coloring.
- Crush mint Oreos in a zipper bag with a rolling pin, then combine half with melted butter for the crust.
- Press crust mixture into the bottom of a 9×11 baking dish.
- Layer the cream cheese mixture over the crust, followed by the chocolate pudding.
- Spread the second tub of whipped topping tinted green over the pudding layer.
- Top with remaining crushed Oreos and chill for at least two hours before serving.
- Prep Time: 20 minutes
- Cook Time: N/A
- Category: Dessert
- Method: No-bake
- Cuisine: American
Nutrition
- Serving Size: 1 slice (100g)
- Calories: 332
- Sugar: 27g
- Sodium: 130mg
- Fat: 18g
- Saturated Fat: 10g
- Unsaturated Fat: 8g
- Trans Fat: 0g
- Carbohydrates: 39g
- Fiber: 1g
- Protein: 3g
- Cholesterol: 30mg